How to Get Google AdSense Approval? Complete Checklist
- Sitemap: Submit XML sitemap to Google Search Console
- Robots.txt: Must allow Googlebot to crawl your site
- Structured Data: Add proper schema markup for articles
- No Broken Links: Use tools like Screaming Frog to find and fix 404 errors
Step 6: Remove All Risky Elements
Before applying, audit your site for:
- Copyrighted Images: Use only royalty-free images from Unsplash, Pexels, or create your own
- Thin Content: Remove or improve posts under 300 words
- Affiliate Links: Keep them minimal and add proper disclosure
- Social Media Widgets: Remove if they show inappropriate content
- Third-Party Ads: Remove all ads from other networks
Step 7: Domain Email Address
Create a professional email like yourname@yoursite.com instead of using Gmail. This shows professionalism and is used during AdSense registration.
Common Rejection Reasons and Solutions
- 1. Low Value Content
- Solution: Add 5-7 more detailed, original posts. Focus on depth over quantity.
- 2. No Privacy Policy
- Solution: Create a comprehensive privacy policy page and link it in the footer.
- 3. Site Navigation Issues
- Solution: Simplify menu structure. Ensure all links work on mobile devices.
- 4. Under Construction
- Solution: Remove "Coming Soon" pages. Only publish complete, finished content.
- 5. Insufficient Content
- Solution: Publish at least 20+ posts covering different aspects of your niche.
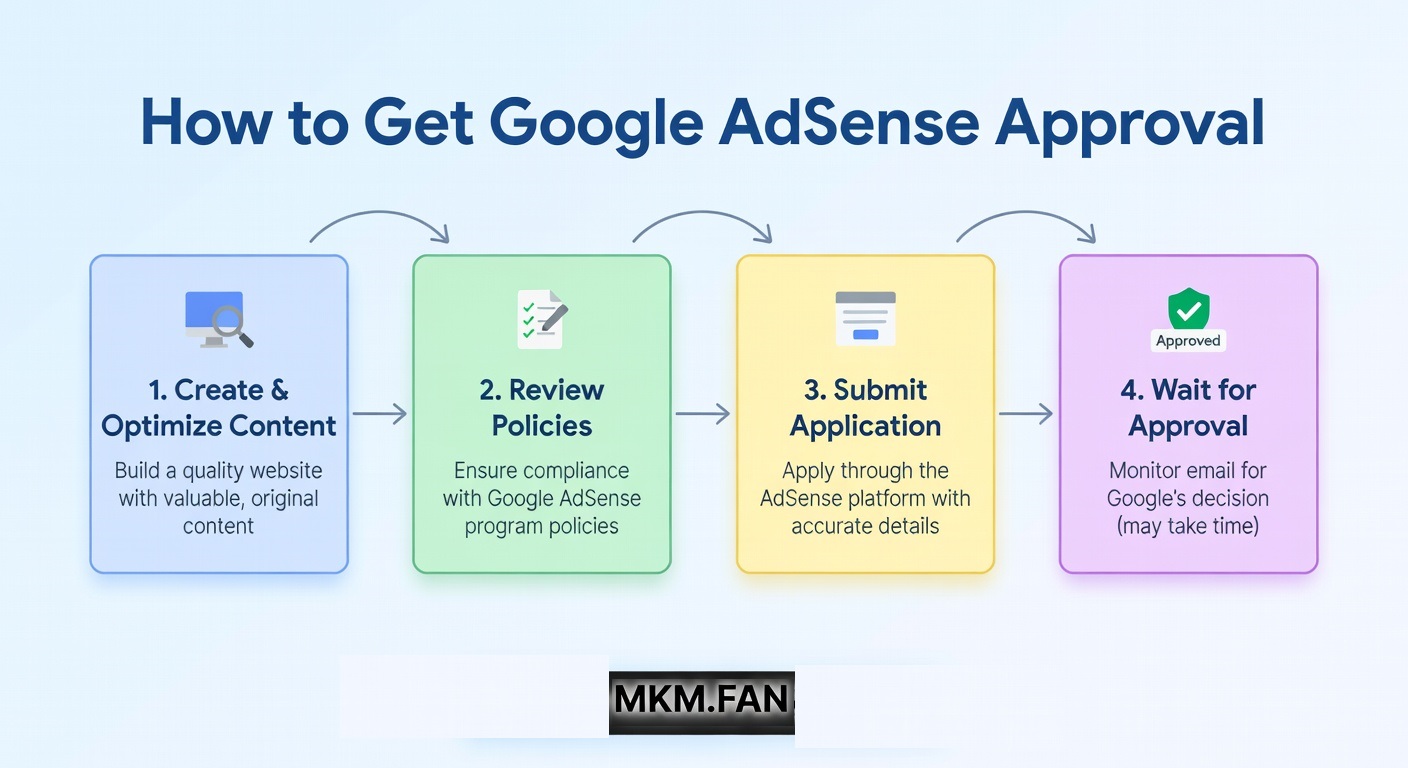
The Application Process: Step-by-Step
- Sign Up: Go to adsense.google.com and use your domain email
- Connect Site: Add AdSense code to your website's <head> section
- Wait for Review: Google will review your site within 3 days to 2 weeks
- Don't Modify: Keep your site unchanged during the review period
- Check Email: Monitor your email (including spam folder) for the decision
Pro Tip: Apply on a Tuesday or Wednesday morning (PST). Google's review team is most active during weekdays.
What to Do After Getting Approved
Congratulations! But your work isn't over:
- Wait 1 Week: Don't place ads immediately. Let Google index your site properly.
- Start Slowly: Place 2-3 ads per page initially. Overloading hurts user experience.
- Monitor Performance: Use AdSense dashboard to track earnings and RPM.
- Continue Publishing: Keep adding quality content to grow your earnings.
FAQ: AdSense Approval
Q: How long does AdSense approval take?
A: Typically 3-7 days, but can take up to 2 weeks during busy periods.
Q: Can I use AI-generated content?
A: Google allows it IF it's high-quality, original, and provides value. Pure AI spam will be rejected. Always edit and add human expertise.
Q: Do I need a Google Search Console account?
A: Not mandatory, but highly recommended. It shows Google you're serious about SEO.
Q: Can I apply with a Blogger.com subdomain?
A: Yes, but approval is extremely difficult. Purchase a custom domain ($10/year) for much better chances.
Q: How many times can I apply after rejection?
A: Unlimited, but wait at least 3-4 weeks between applications and fix all issues first.
Final Checklist: Before You Hit Apply
Conclusion
Getting AdSense approval is about demonstrating professionalism, quality, and trustworthiness. Focus on creating genuine value for users, and the approval will follow naturally. Avoid shortcuts and black-hat techniques—they lead to permanent bans.
Remember: "Build a site for users, not for AdSense." When you prioritize user experience, AdSense approval becomes just a formality.